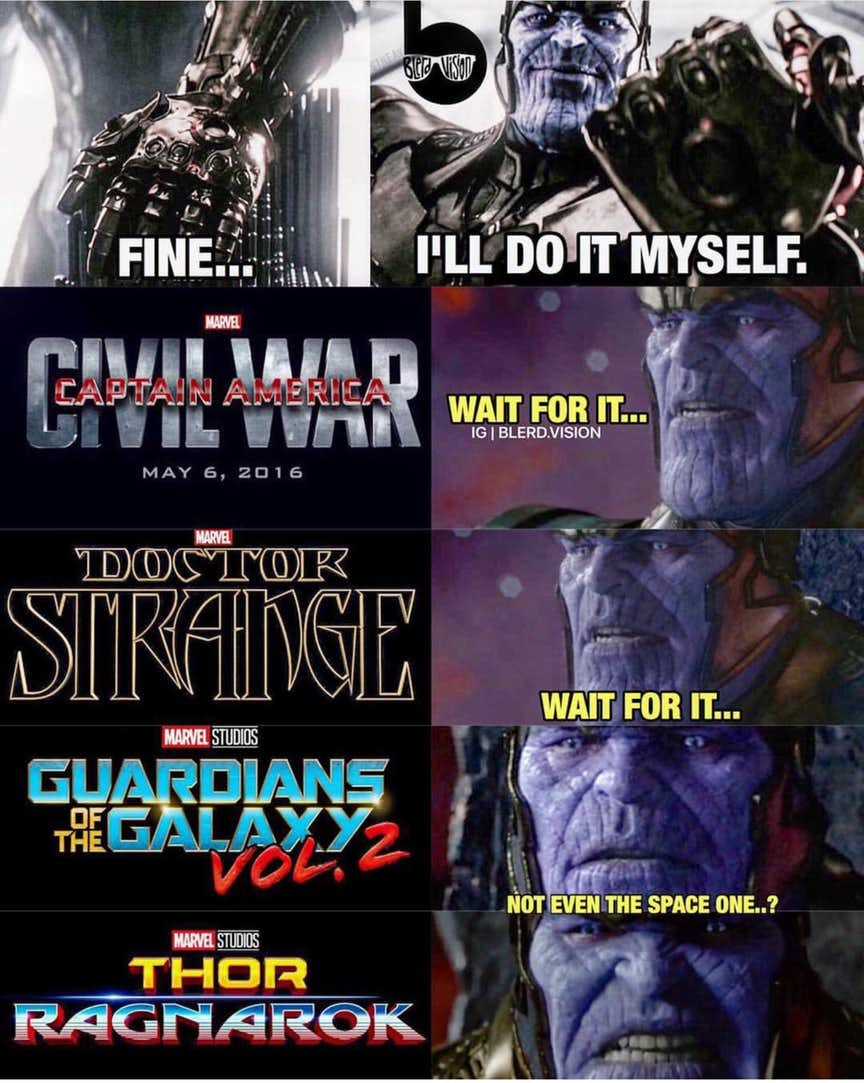
How Was Tony Stark Able To Make A New Infinity Gauntlet?
Table of Content
The wiring for the LEDs is pretty straightforward, all six are wired in parallel with 1Ω resistors, the SPDT switch and the positional switch. The power source is two AAA batteries in a battery holder which provides 3V of power, which is equivalent to the power drop in each LED (hence the 1Ω resistors). You could definitely use AA or 9V batteries, just adjust the resistors if your supply has a different voltage. I've included images of the wiring diagram and a schematic on a hand.
I decided to revisit this prop and redesign it using what I learned making the first one I think it turned out great. Special thanks to my wife, Sara, for the pics of my finished gauntlet. You all know the story, boy meets girl, boy falls in love with girl, boy collects all the Infinity Gems to make the Infinity Gauntlet and becomes near omnipotent to impress girl...
The 10 Worst-Kept Secrets In DC Comics
I wanted to update it a little so that it would be more functional but retain the design elements of the original. I also wanted to light the gems up, but keep the method simple enough to fit inside the gauntlet. In Thanos' first appearance in the pages of Marvel Comics, the Mad Titan proved he didn't need an Infinity Gauntlet to show off his incredible powers. Both versions of Thanos in the MCU believed themselves worthy of the gauntlet, but comic book Thanos lost it due to fear and anxiety.
He is a big fan of the New Gods and Doctor Fate, and loves comic books of all genres. Liam joined Screen Rant as an editor in 2019 and was promoted to lead writer in 2021. Before joining Screen Rant, Liam worked in the sports industry, with bylines at TSN, Sportsnet, Vice Sports, and more. Comic book Thanos wanted ultimate power, but he knew deep down that he wasn't worthy of this power. MCU Thanos, on the other hand, wanted to bring order to the universe, and he firmly believed he was the one to provide this order. It's these contrasting motivations and convictions that distinguish both versions of Thanos, ultimately leading to radically different downfalls.
Hand tools and fabrication machines
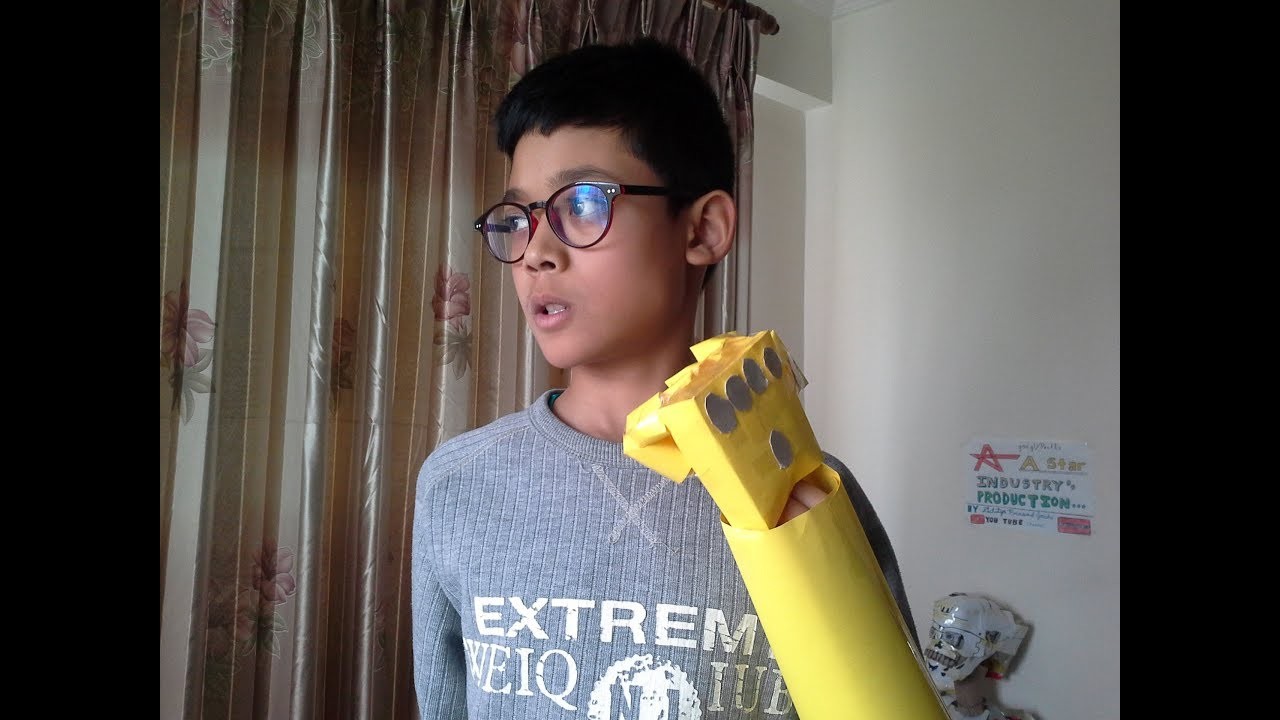
When autocomplete results are available use up and down arrows to review and enter to select. Neopixel RGB LEDs are powered with supply voltage of +5V and has a serial data pin as input. I didn't paint the work glove, it's original yellow color wasn't too obtrusive and I didn't want to risk the paint peeling. That said, if you want to go full glove there is gold leather dye out there.

After picking up a yellow glove from your local grocery or hardware store, be sure to wash it with some soap.
How to make Thanos Infinity Gauntlet at home
Strip both ends off of two wires and feed one end of each into each hole. While wearing protective gloves, heat the foam pieces that need molding on both sides in a slow, sweeping motion. You'll have an idea if it's ready once it's more pliable and forms a sheen on the surface. Like I said before, I want to keep the mechanism fairly simple because the Gauntlet will be seeing a lot of action and the less parts the better. However I also wanted to add some effects outside of an On/Off switch.
You can contribute this audio pronunciation of Thanos gauntlet to HowToPronounce dictionary. The Infinity Gauntlet might make Thanos stronger, but the supervillain doesn't need Infinity Stones to show how truly powerful he is. Ultimately, Thanos reached his peak when he transformed himself into Eternity, the embodiment of all there is. In a vulnerable state, Thanos couldn't help but watch as his granddaughter, Nebula, stole the Infinity Gauntlet from his hand. Wielding the power of the Infinity Stones, Nebula banished Thanos into space.
Comic book Thanos, however, couldn't stop, seeking more and more power to impress Mistress Death. For this reason, MCU Thanos essentially quit while he was ahead, destroying the Infinity Stones once he'd achieved his goal. This version of Thanos also had stronger convictions than his comic book counterpart. MCU Thanos didn't lose the gauntlet because he believed he was unworthy, he was simply finished using the stones. The NXP LPC804 master board is interfaced with the slave MMA8652 accelerometer sensor board via I2C protocol (using SDA, SCL lines with internal pull-up resistors). A string of Neopixel LEDs run through each 3D printed Infinity stones.

Using a high temperature glue gun I attempted a light, even webbing of glue on each piece before fitting it on the glove with my hand inside. Just remember that the proximal and intermediate finger pieces are glued only to the glove leather, not to any underlying foam. Though, less arduous, this step still takes a few days to allow the gems to cure unless you use pre-cast gemstones. Obtain eight containers , a wood stick , six toothpicks and a slab of non-hardening clay rolled flat and thick enough to press your gems into to make a mold.
Parents might want to do this next step for their kids to avoid any kind of injury. The Infinity Gauntlet is 3D-printed along with all the Thanos' 6 Infinity stones using the attached 3D-printing libraries. The LPCXpresso804 board and the rest of the hardware is installed inside this gauntlet. Once all foam pieces are covered in Plasti-Dip and dry, use the same slow sweeping motion to paint the gauntlet pieces gold with the spray paint. You only need to paint the parts that will be exposed on the final gauntlet but be sure to get the edges too.
I've attached scans of my templates to this step for those who would like to use them, you can scale them to fit your glove. For the templates I used old manila folders and cut out the general shapes and sizes based on my concept drawing and some old-fashioned guesstimation. While work progressed I labeled each piece and refined the shape and size to fit. Using masking tape, I attached each template piece to the glove so that I could test fit it and visualize the final product. The templates and gems were the biggest time sinks, the rest went pretty quick.
The cuff and hand piece were attached as a single unit after the glue on the LEDs had cured. I just simply sized the hand-cuff piece up on the glove, took the glove off, then hot glued the base of the hand piece to the glove. I then put my hand back in and finished gluing the top of the hand piece . Finally I hot glued the cuff to the opening of the glove, along with the battery pack and switches.
Once it's ready, put on the leather gauntlet glove and mold the foam to where it will be glued with your free hand. You may need to hold it there for a minute or two until it is cool. You may also want to embed some 22 gauge steel wire into the cuff to make the shape more rigid, I found that I didn't need to. I also marked on the template the positions of each finger and the center of my hand then transferred those marks to the foam. This will come in handy once the gems and bezels are placed to ensure the gems are in the right location.
I found several ways to shape the foam, each of them with their own merits. Personally I like using a rotary tool the best, it leaves the foam cells open for easy adhering with glue and provides the nicest shapes. You can remove larger sections of foam with a rough bit and smaller, more detailed and smooth sections with a smooth bit . You can also use a heat knife or soldering iron which is cleaner but produces some nasty fumes and mistakes are much harder to correct. Lastly you can use your razor knife, but this method is messy, time consuming and may need additional sanding. Although this craft is appropriate for people of all ages, the hot glue gun can burn your skin if it’s not handled properly.
Art is supposed to be fun, and household incidents are certainly not fun. Record the pronunciation of this word in your own voice and play it to listen to how you have pronounced it. From Nova Scotia, Canada, Liam McGuire is the Lead writer for Screen Rant's comic team.


Comments
Post a Comment